This project will show you how to use a standard webcam to create a time-lapse video recorder – great for watching the whole day go by in a few minutes.
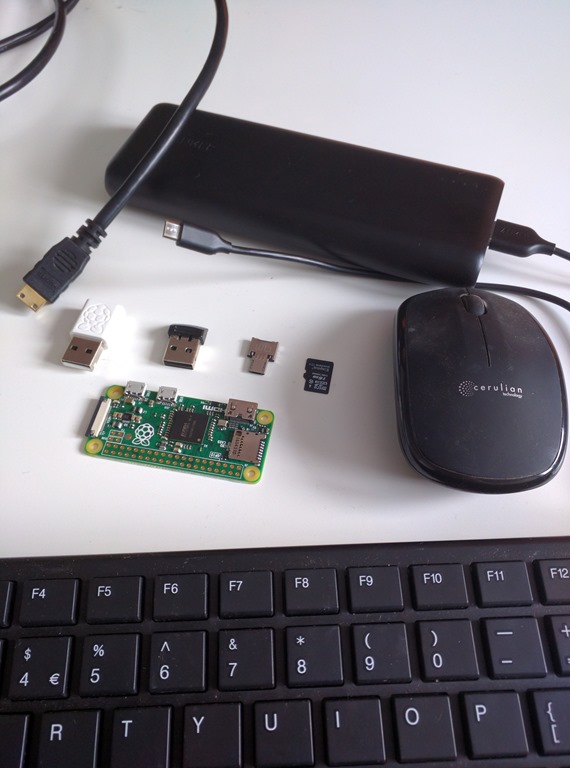
For this we’ll need a Raspberry Pi, a USB webcam (and a portable power source if you want to position it somewhere outside)
I’ll be using a Pi B+ running the latest version of Raspbian Jesse, a USB Wi-Fi dongle, a Microsoft Lifecam HD and an Anker portable battery pack.
First up you’ll want to get powered up and logged in, with the USB webcam connected. To check the webcam is recognised just type lsusb

You can see that my webcam is Device 005 on Bus 001 and is from Microsoft Corp. So great we’re in business, now we need some software to control the webcam. For that we’ll be using fswebcam – this is a great package with tons of features, but we’ll only be using the basics. To install it just type sudo apt-get install fswebcam

You can try it out by typing fswebcam –r 1280×720 –no-banner image.jpg (the –r 1280×720 tells it what resolution to use for the capture, the -–no-banner tells it not to display the time banner and image.jpg is the name of the file to save the image in.

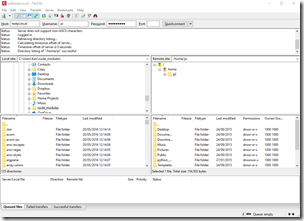
You can view this image now on the Pi if you have a monitor attached or by grabbing a copy of the file (FTP, SFTP etc) onto another machine.
Now we have this working we’ll also need some software to convert all the image captures we take into a movie, for this we’ll use avconv which is part of the libav-tools package, so let’s install that by typing sudo apt-get install libav-tools

That’s all the software we need, it is just a matter of orchestrating things. We’ll need to:
- Capture a webcam snapshot to a file (with a sequential number as the filename)
- Sleep for X seconds
- If we don’t have enough snapshots yet go back to step 1
- Merge all the snapshots together into a time-lapse movie file
- Delete all the snapshot files
To write the script that does all this type nano timelapse.sh and enter the following:
#!/bin/bash
DIR=/home/pi/timelapse
COUNT=0
MAXCOUNT=30
INTERVAL=10
DATE=$(date +”%Y-%m-%d_%H%M”)while [ $COUNT -le $MAXCOUNT ]; do
FILENAME=$(printf “%05d.jpg” “$COUNT”)
let COUNT=COUNT+10# take the snapshot
fswebcam -r 1280×720 –no-banner $DIR/$FILENAME# pause for a bit
sleep $INTERVAL;done;
# now make the movie
avconv -r 5 -I $DIR/%05d.jpg -vcodec libx264 -r 30 timelapse_$DATE.mp4# and tidy up the files
rm -f $DIR/*.jpg
Final bits required are to create the timelapse folder – type mkdir timelapse and make the script we wrote executable – type chmod +x timelapse.sh
We now have a script that will take a snapshot every 10 seconds (INTERVAL) until we have 30 of them (MAXCOUNT) and then combine them all into a movie for us. Be warned that this will take some time (30 time 10 seconds to get all the shots and then around 10 minutes of processing to combine them) but the result will be a cool time-lapse movie.
Feel free to adjust the INTERVAL and MAXCOUNT to record for longer period and with different periods between shots.