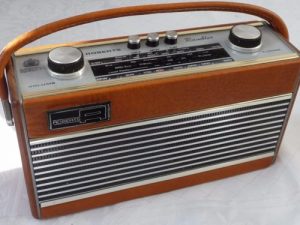
Vintage Pi Radio Project
Our kitchen radio finally gave up the ghost a few days ago. I suspect it is just the power supply, and at some point I’ll crack it open and see if it is salvageable. However, it was a good opportun...

Our kitchen radio finally gave up the ghost a few days ago. I suspect it is just the power supply, and at some point I’ll crack it open and see if it is salvageable. However, it was a good opportun...
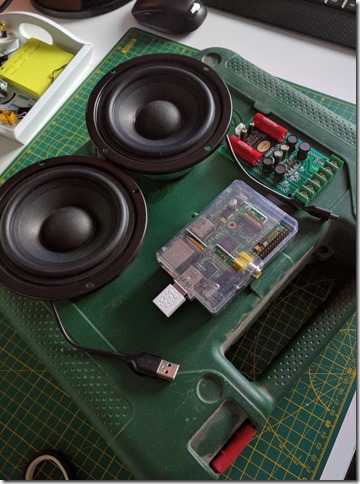
This project, a Raspberry Pi Outdoor Music Player had been germinating in my mind for a while. We’d had a few BBQs and found that running an extension outside to plug the iPod and speaker system in...
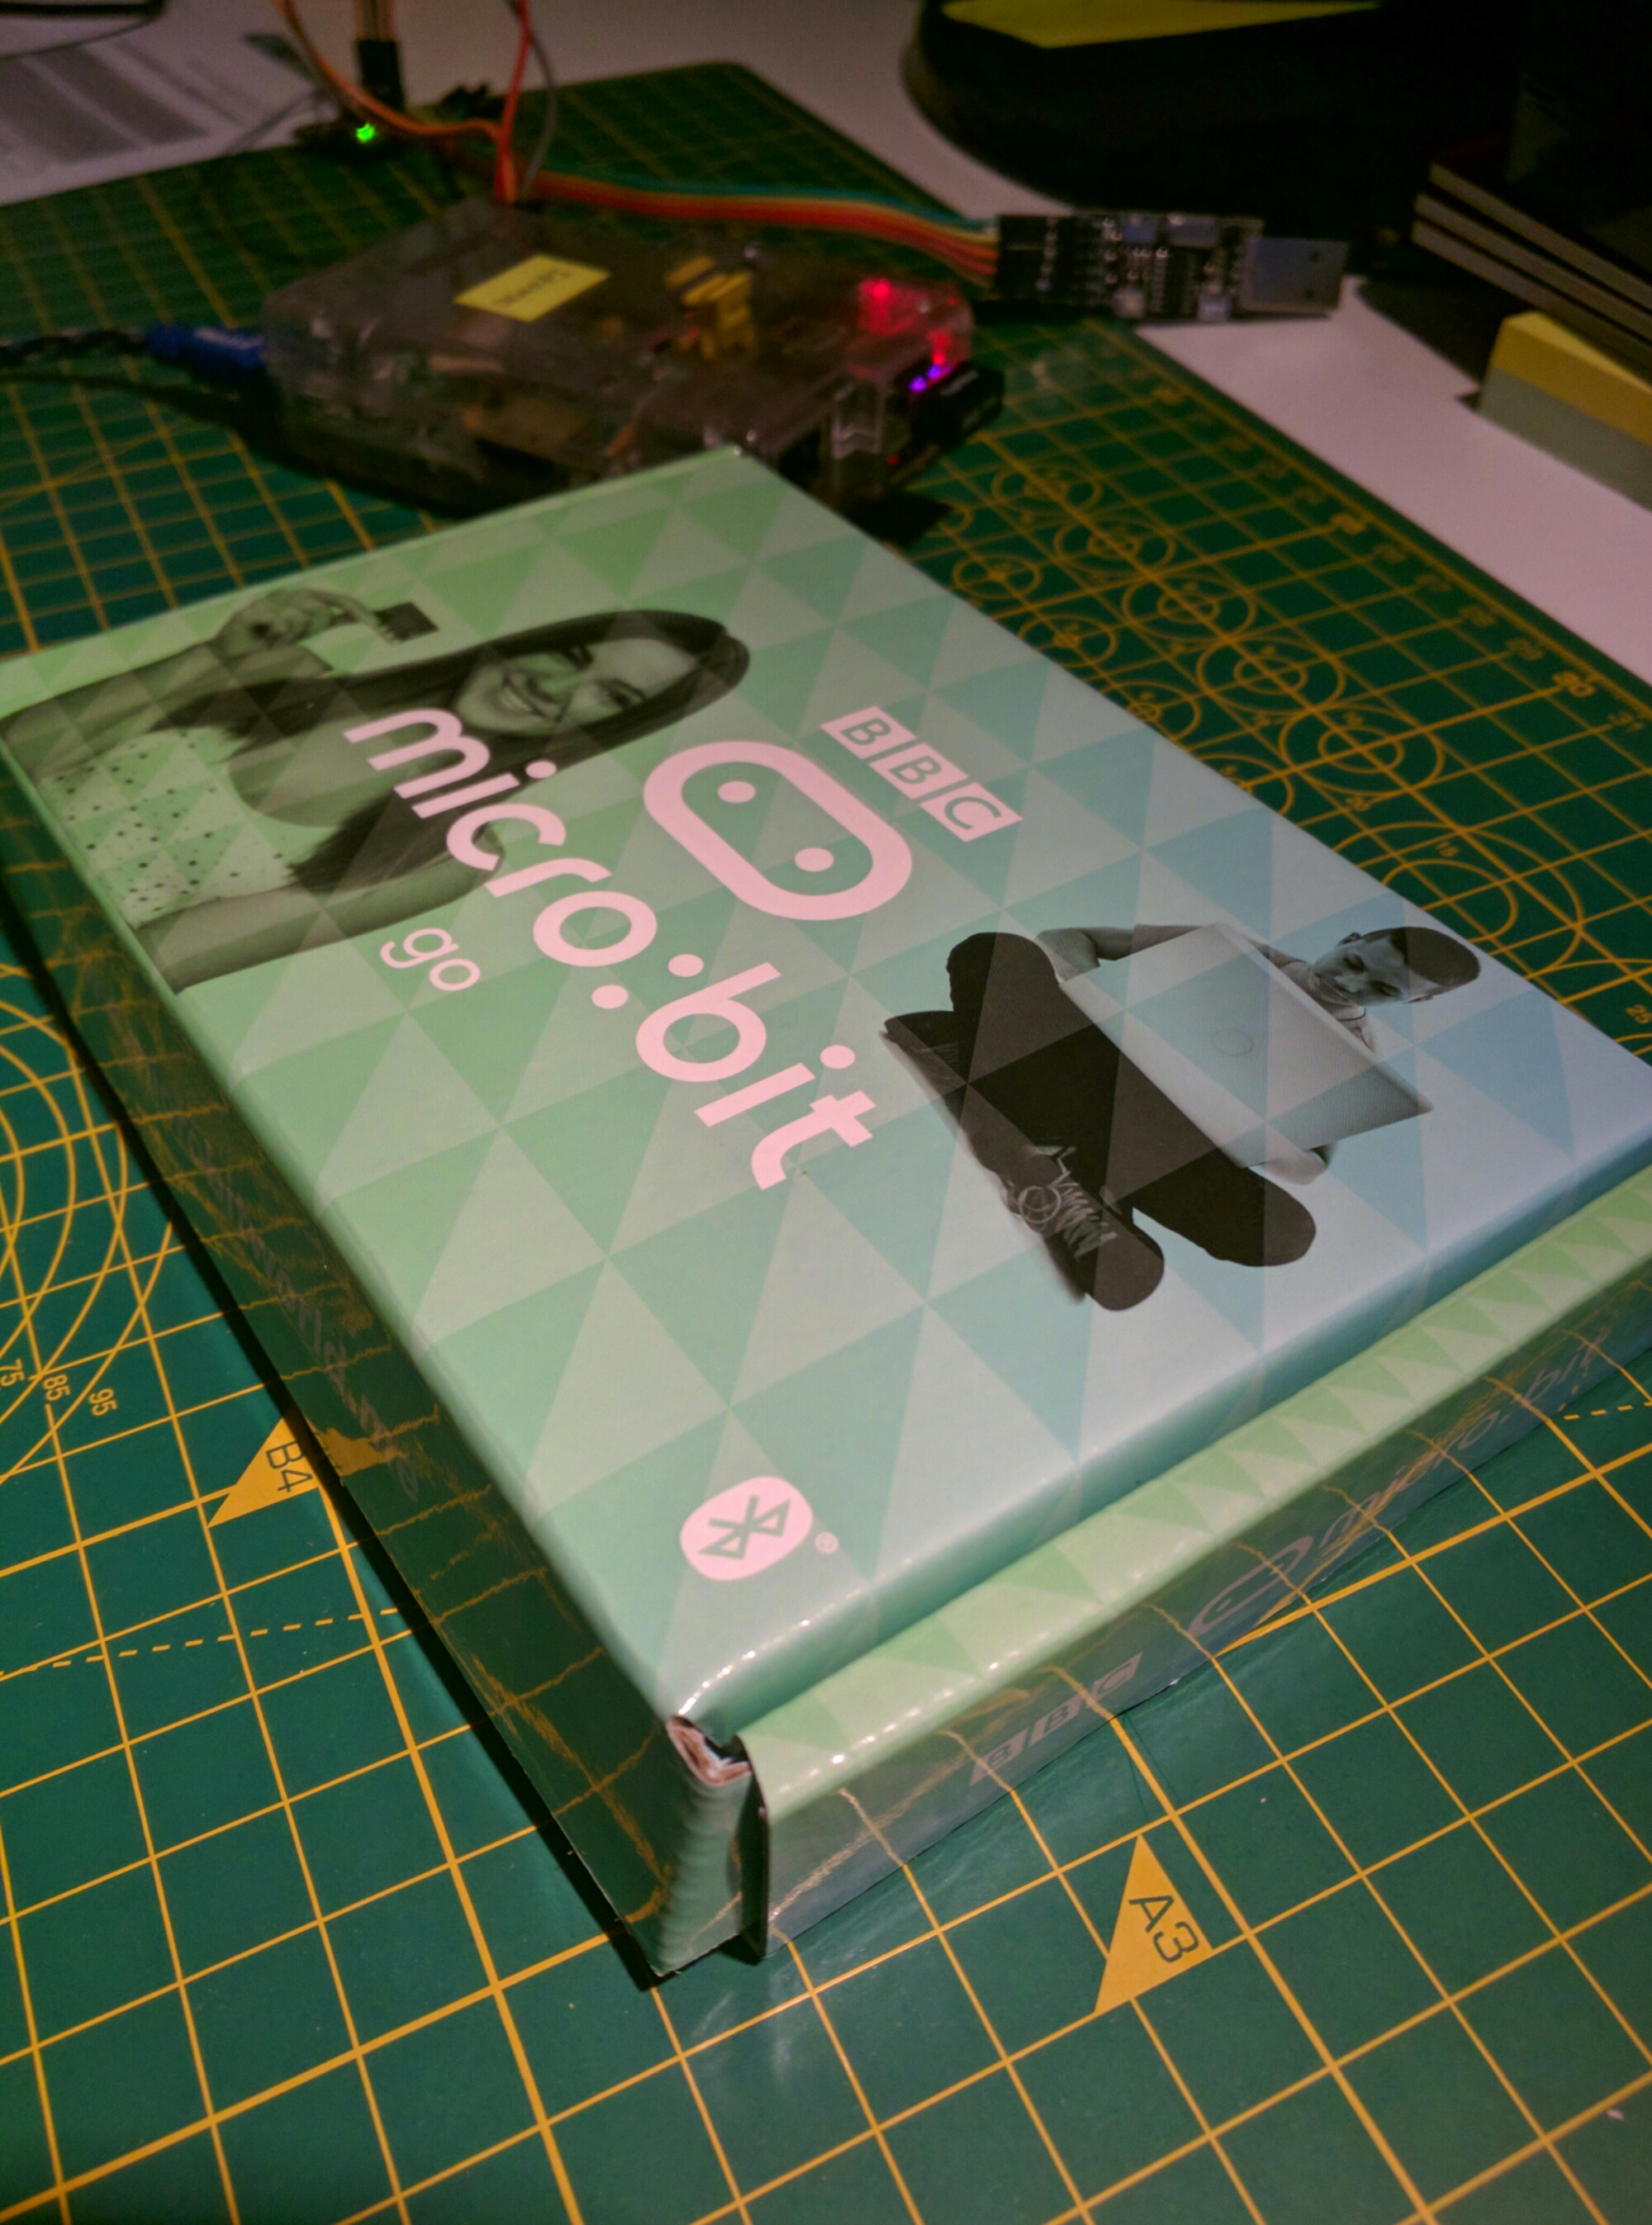
Postman had a gift for me today. 2 of these new BBC Micro:bit devices arrived. I guess that mean I have to find another 2 projects to build…
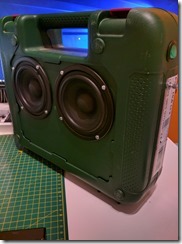
Finally completed the V1 Pi Outdoor Music Player. This is an old power tool case modified to mount/contain: Speakers mounted on the top/face. A 3Watt 5Volt stereo audio amp. A 20,000mAh por...
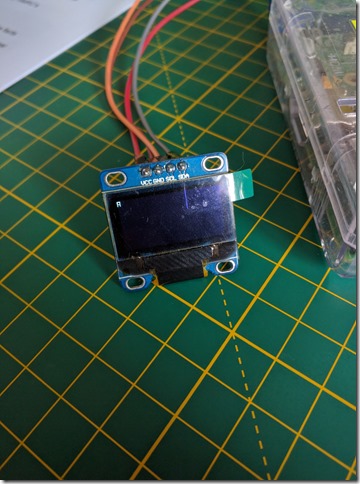
I had a little SSD1306 128 x 64 bit OLED display laying around from a previous Arduino project, so I thought it was time to do a bit of OLED display interfacing with a Raspberry Pi. Display The d...
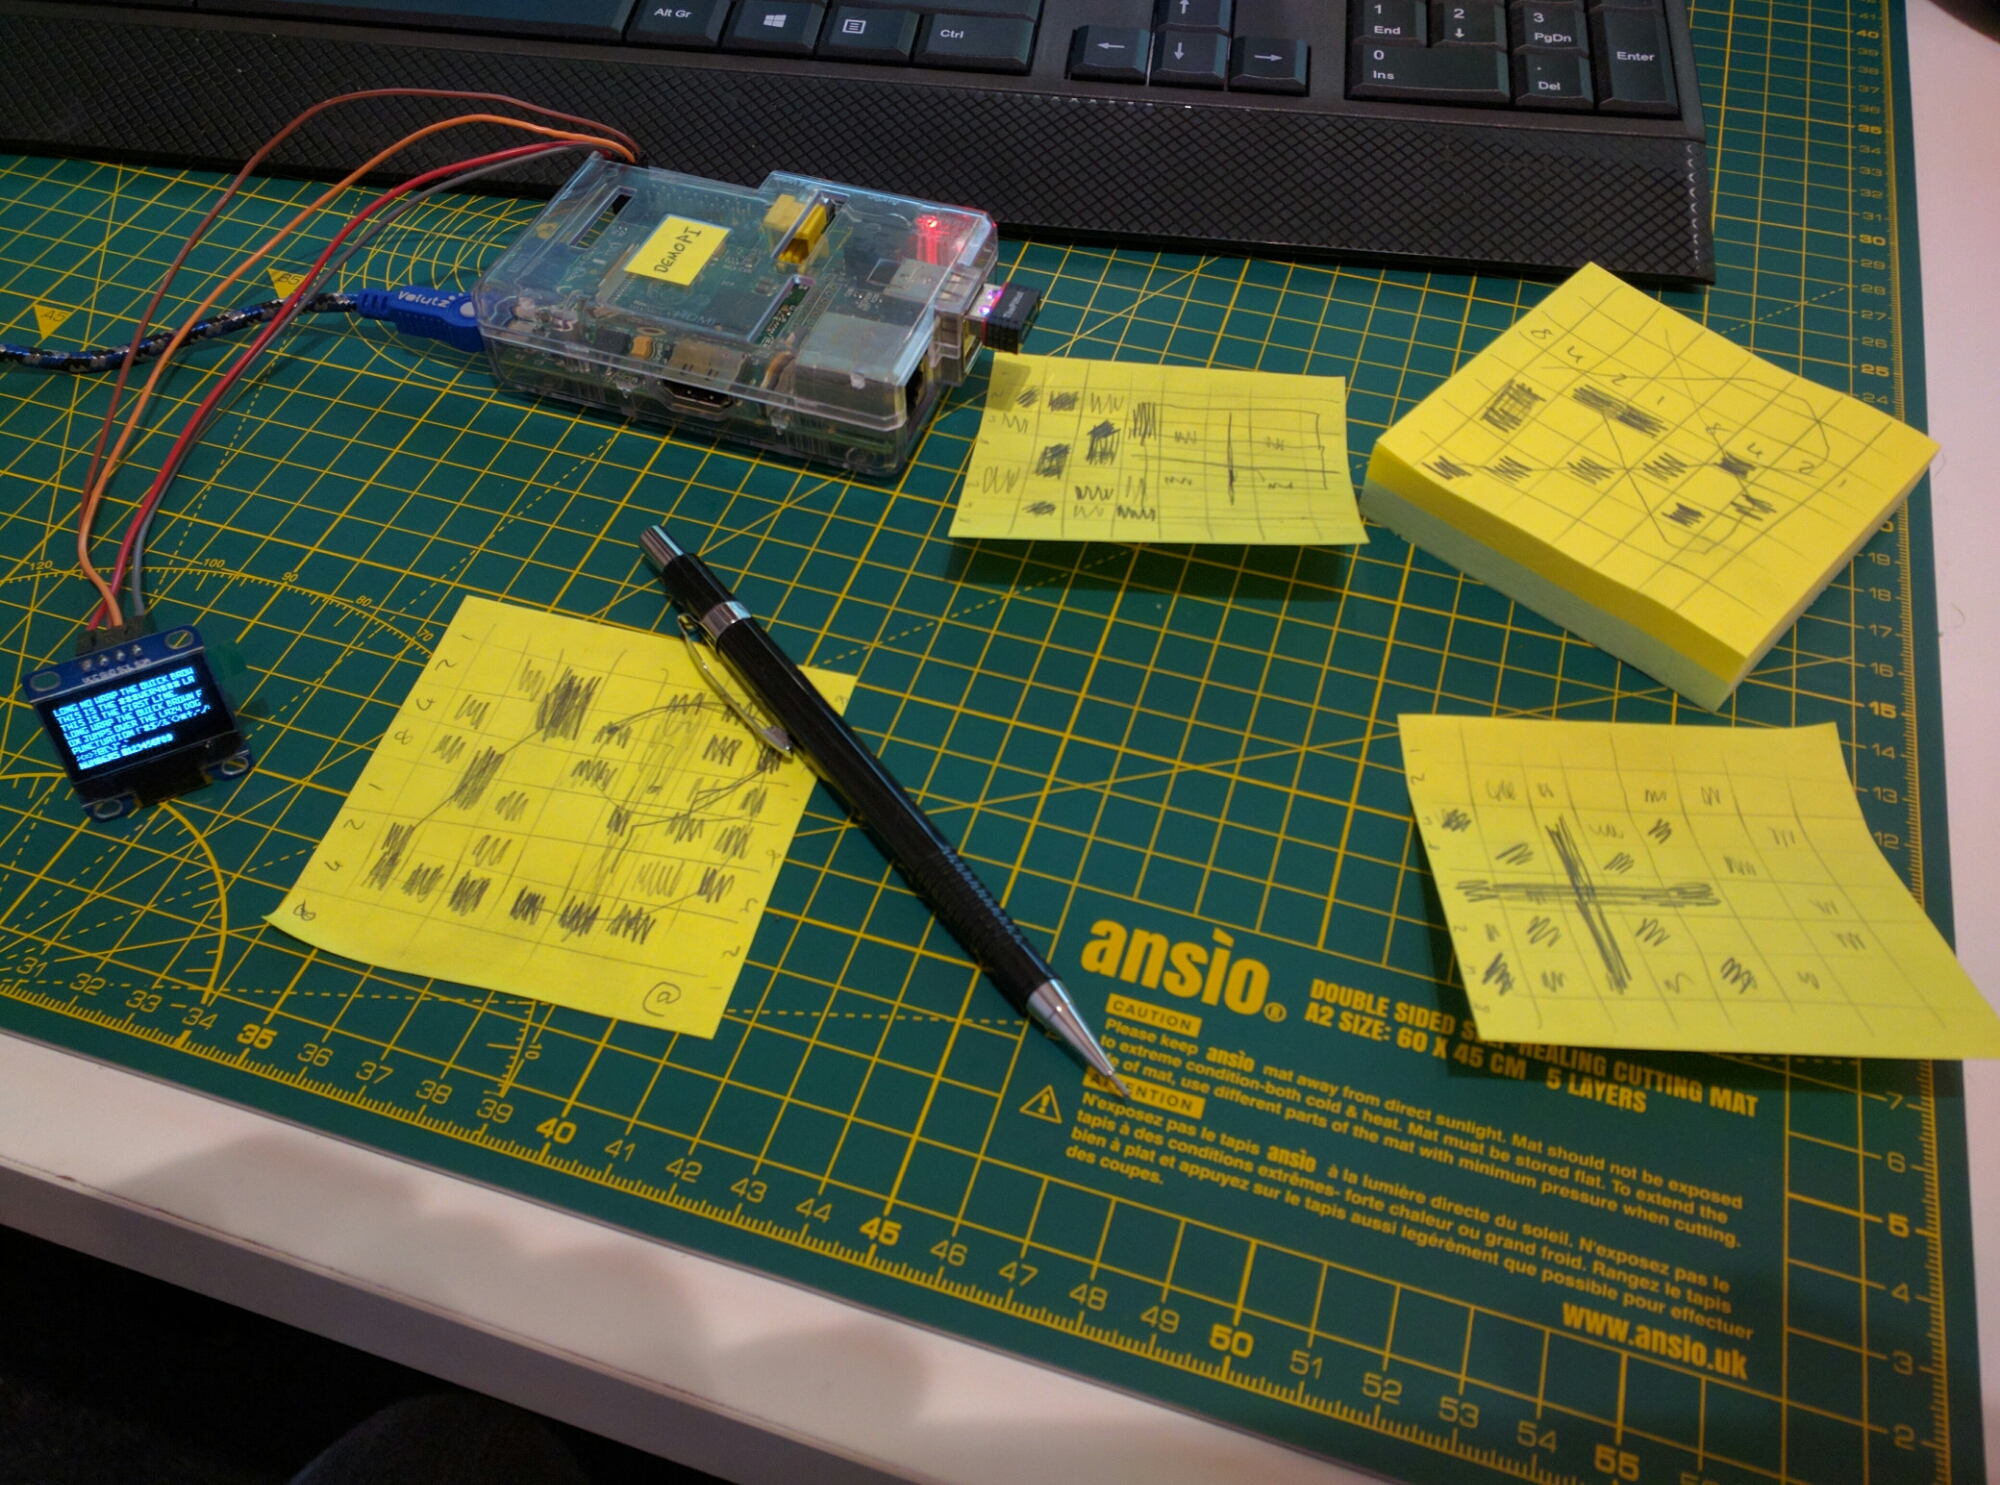
Take all 26 letters of the alphabet, add the numbers 0 to 9 and a bunch of punctuation. Now work out the byte arrays for the character maps required to display each character on a 128x64bit OLED di...
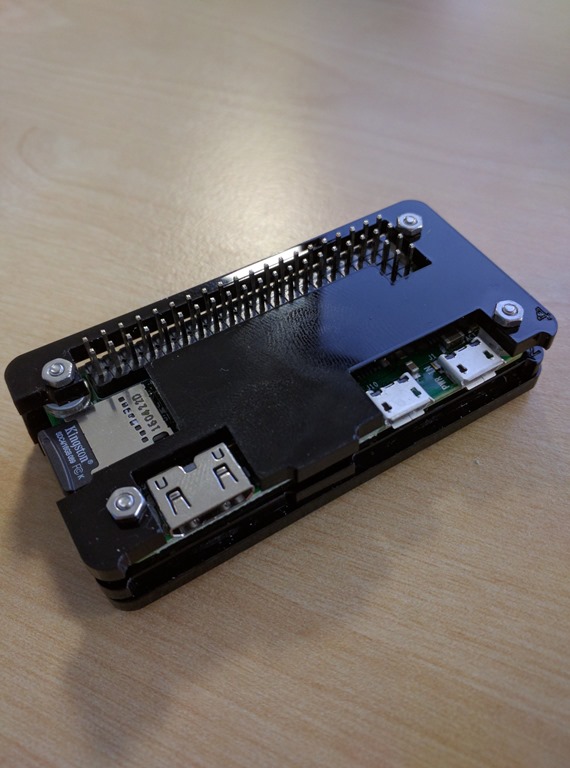
So, it was time to buy another Raspberry Pi Zero Case, as I’m now onto my third one of these amazing little devices. I had intended to buy another of the cases that I purchased for my first one. At...
It is possible to get the micro USB ‘OTG’ port on the Pi Zero configured for networking. After a couple of bits of configuration you can simply plug a cable between your PC / Laptop and the Pi Zero...
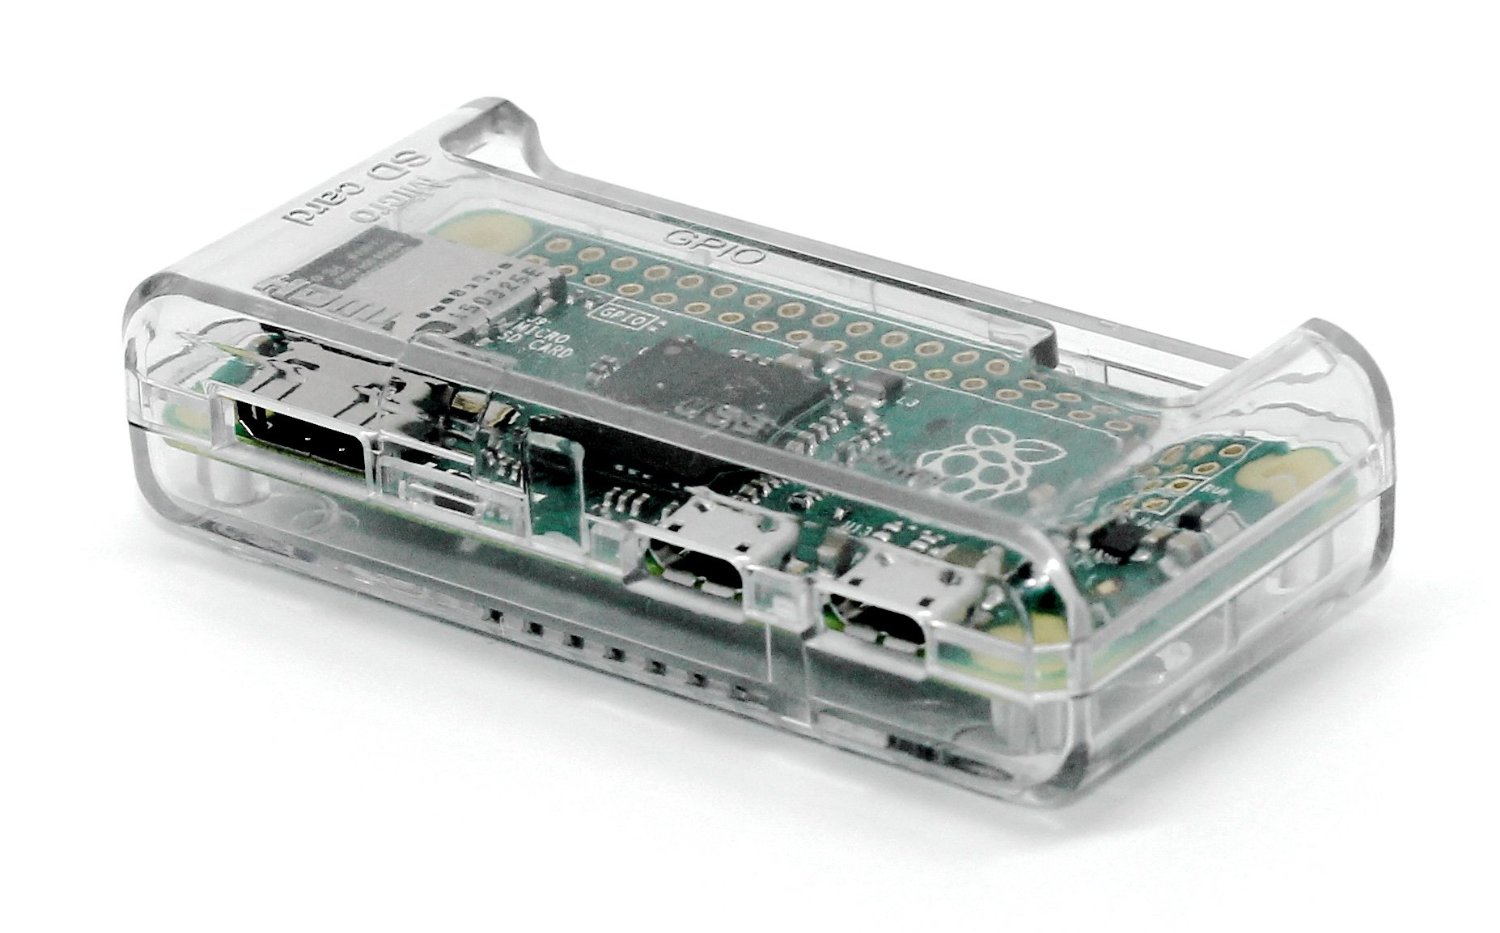
I thought it was about time I invested in a Raspberry Pi Zero Case. I had been using all my Pi Zeros ‘naked’ for several weeks with no problems, but you never know if they’ll touch a metal surface ...
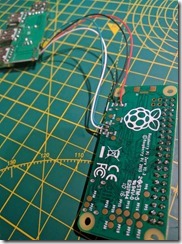
As much as we all love the Pi Zero, the connectivity options are very limited. With only one (micro) USB port (for peripherals) it means you need a micro <=> ‘normal’ USB adapter to get any o...