Raspberry Pi Outdoor Music Player Project
This project, a Raspberry Pi Outdoor Music Player had been germinating in my mind for a while. We’d had a few BBQs and found that running an extension outside to plug the iPod and speaker system into was a bit of a pain.
Requirements
I had seen a whole bunch of MP3 players housed in old / up-cycled ammo boxes, and I wanted something similar. The thing I wasn’t too keen on was most of them only had play/pause and fwd/back buttons. I wanted something that I could play music on, have playlists and stream internet radio on. So the requirements list was shaping up a bit like this:
- 6 to 8 hours battery life (and batteries that could be easily swapped / recharged).
- Internet access (for streaming radio stations).
- Web front end (for control, generating playlists etc.)
- Reasonable volume (enough to be heard at a family BBQ, and but not enough to annoy the neighbours).
- Rugged enclosure, that can handle itself outside.
The Parts
Enclosure
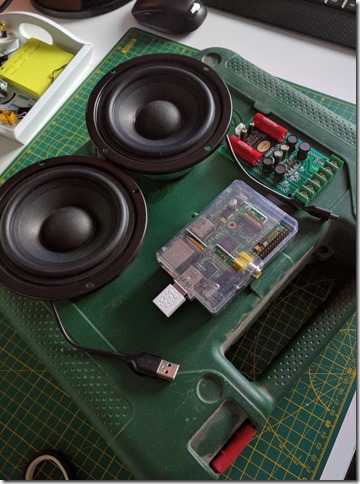
Whilst an ammo box is rugged and cool, I wasn’t too sure how a Wi-Fi adapter would fare trying to get a decent signal from inside a metal box. So, something else was needed, something rugged and non metal. Looking around the garage I spied some old plastic boxes that housed power tools. One of those would be ideal. I chose a Bosch Cordless Drill/Driver box that was empty anyway. If I hacked it about, it wouldn’t be a big loss if anything went wrong and I had to bin it.
Brain
This was a ‘no brainer’ (pun intended) – I would use a Raspberry Pi. I had a spare Model B+ (with 2 USB ports), so I could attach a Wi-Fi USB dongle and a USB memory stick to hold a local music library. That also allows me to change / improve the software as needed, and it can play from the local library, stream from the garage server, or Google Play Music, and the GPIO pins would allow me to drive a LCD display to show track information etc. if I chose to do that in the future. The Raspberry Pi also has an audio out jack, so driving the amp / speakers wouldn’t be an issue.
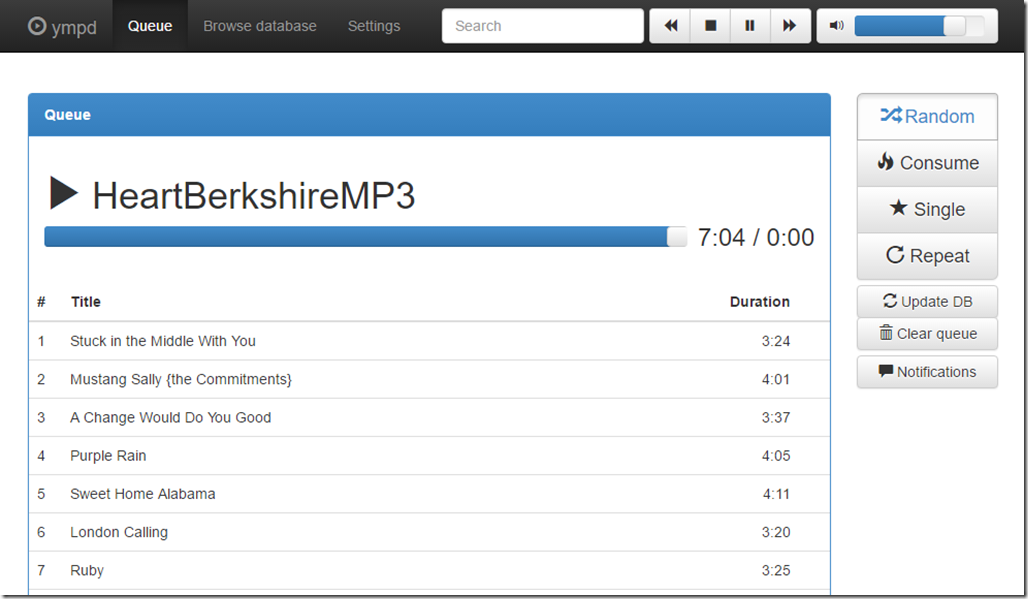
For software I decided to go with MPD (Music Player Daemon). This is fairly ubiquitous in Raspberry Pi Music Systems, and rightly so. It gets the job done well, has a ton of clients across all platforms and is easy to get installed working. For the front end I found ympd which is a great application, single file, self contained that you run and it acts as a web server (so no apache, nginx, lighttp needed) listening on a port of your choice. The UI has a nice clean functional look too.The only issue is that it doesn’t (yet) do playlist management/creation (I’ll be looking into adding that later).
Amplifier
The audio output from the Raspberry Pi itself is fine for headphones, but is not really good enough to drive a set of speakers directly. So, I wanted to feed a stereo audio amplifier from the Pi and have the amplifier drive the speakers. Initially I went with a 12 volt 15watt amplifier module, but after a few problems with this (see below), I swapped to one of these 5 volt stereo 3W=3W watt amplifier modules.
Speakers
For the speakers I needed something that fitted into the space available in the plastic case, and that would fit into a flat area on the outer part of the case. I found some 4 inch 4 Ohm speakers from Maplin, for the princely sum of £2.99 each. They were a perfect fit for the space I had available in the box. If you can’t get them from Maplin they you can try these from Amazon.
Battery
I originally planned to use some spare LiPo batteries that I had laying around. I had 2200mAh 3S batteries available that would provide around 11-13 volts. After having audio noise problems (see build below) trying to use a DC-DC (buck) converter to get this down to 5 volts for the Raspberry Pi, I abandoned this and reverted to an Anker 20,600mAh portable battery pack that I had anyway. I normally carry this portable charger around with me, and when needed in the Raspberry Pi Outdoor Music Player I just plug it in and we’re ready to go. I may have to buy one to keep in the box rather than swapping it around every time.
The Raspberry Pi Outdoor Music Player Build
I put this project together in 3 stages, each of around 1 hour.
Stage 1 – Case Mods
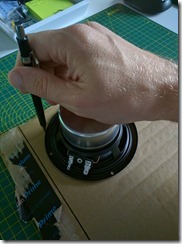
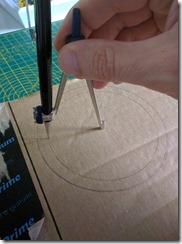
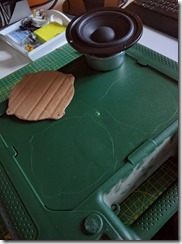
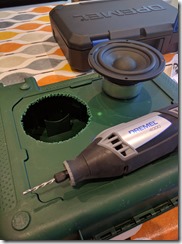
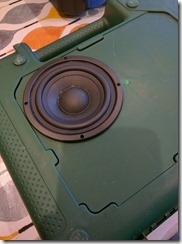
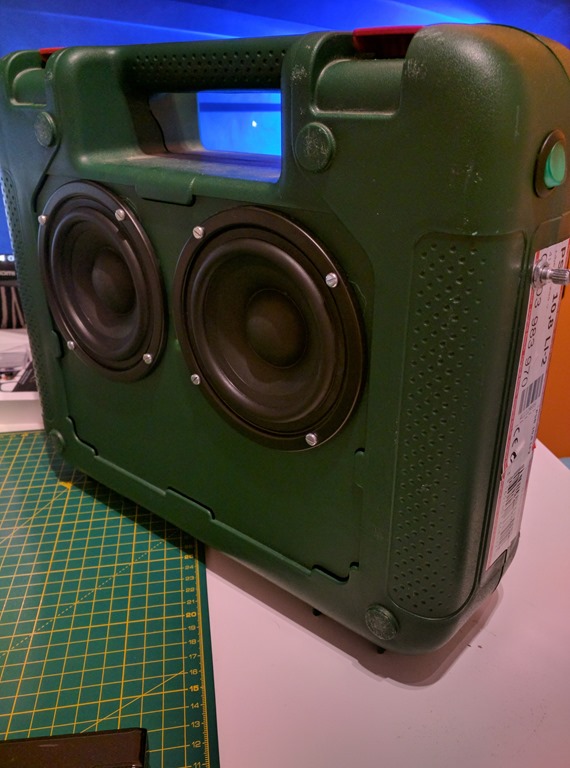
The first part of this was to cut out cardboard templates for the speakers – this allowed me to place them on the case and see where the best fit was. When I was happy with the position I then marked it and cut the holes. For the cutting I started each with a holes drilled all the way around, then did the rest with a Stanley knife / box cutter.
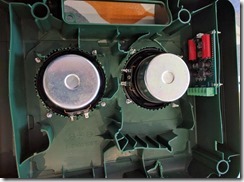
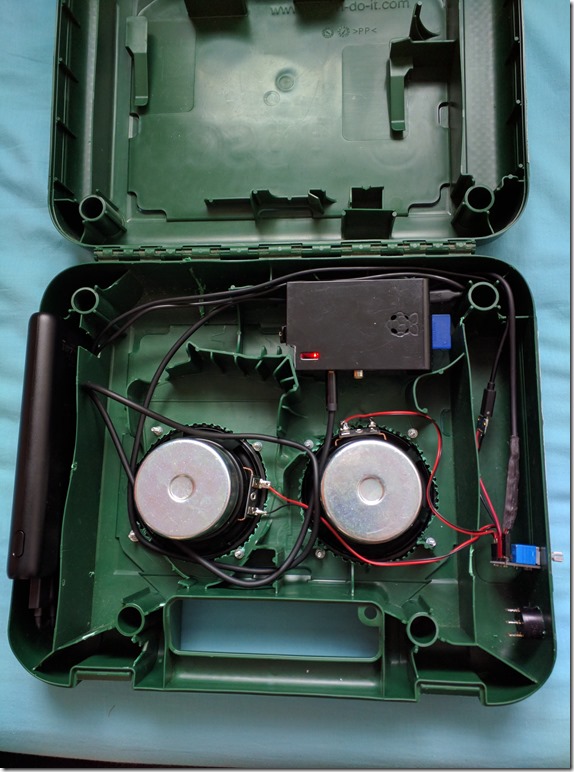
Next was the internal case mods. This will vary depending on the case you use. For me the plastic risers and dividers inside were thin enough to cut with the Stanley knife, so it was a quick job. Just find suitable spaces for the Raspberry Pi, the amp, the battery and cut those to the size required. You’ll also want to cut out some routing for the power and audio cables. I routed these around the outside of the box, but whatever suits you best.
Note: Initially I mounted the 15W amp on it’s side, screwed into one of the dividers (see image below), but the 3W+3W (smaller) amp had an adjustable pot on it and was designed to be mount through the chassis.
The final product looked like this:
Stage 2 – Connecting Everything
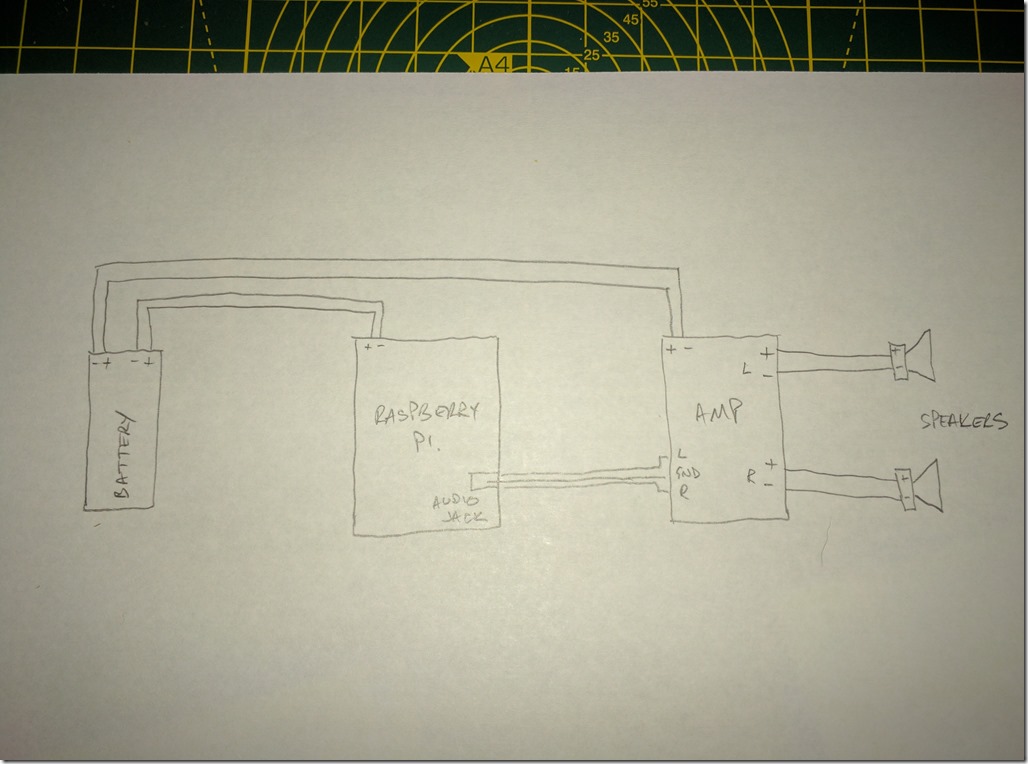
This stage required a little soldering. Basically I took a 3.5mm audio cable I had laying around and cut off one end. I then found the right connections for Ground, Left Audio and Right Audio and soldered those to a 3 pin header socket I had. This was then connected to the 3 pin header on the amp board. The output of the amp board is a + and – audio signal for each channel. I used 2 pin cables to plug into the headers on the board, cut off the other ends and soldered the cables directly to the speaker + and – tabs.
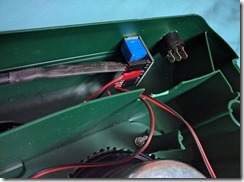
For Raspberry Pi power I ran a USB to micro USB cable from the battery to the Raspberry Pi (just as you normally would). For the power to the amp board, I first considered hacking about another USB to micro USB cable. Then I remembered I had some little micro USB socket boards that I’d bought in bulk some time ago. I plugged in the second USB to micro USB cable to that board and soldered the +5V and Ground connections from that board to the amp board.
Everything was now connected – time to start on the software side.
Stage 3 – The Software
This is still a (kind of) work in progress stage. To get the first version working I installed mpd and the command line client (mpc) on the Raspberry Pi:
1
sudo apt-get install mpd mpc
Next I used the command line client to add a stream (Heart Radio) and told it to play:
1
2
mpc add [http://media-ice.musicradio.com/HeartBerkshireMP3](http://media-ice.musicradio.com/HeartBerkshireMP3)
mpc play
Not much happened at first, but I turned up the volume on the amp board (using the on board potentiometer) and then it worked well, so I knew I had things connected and working correctly.
So far so good, but I didn’t want to be SSHing into the Raspberry Pi to add or change songs. I also wanted to get a local cache of all my music on there. A 64GB USB stick would easily hold my music collection with room to grow. So, I copied all music from my home server to the USB stick and inserted it into a USB socket. You could also simply copy all your music onto the Raspberry Pi SD card itself (assuming you have enough spare storage). The default location that MPD looks for music files is /var/lib/mpd/music so best to copy your files there.
If you go the USB route then you have to tell mpd where the base folder is for your music. This is done in the config file, so a few more commands at the terminal:
1
sudo nano /etc/mpd.conf
Now find the line with the setting music_directory and edit the path to your USB drive. On my machine that was /mnt/usb/music. You may have to restart the mpd daemon after this, to do so:
1
sudo service mpd restart
That sorts out the playing of music, now we just need a simple way for a user to interact with it. For that I wanted a web interface, so that anyone (of my family or guests) could connect and chose songs to add to the queue. Initially I thought that would mean a full blown web server, database, PHP stack, however a google around found me ympd. This a self contained app that uses web sockets to serve up web pages dynamically. The author has done a really neat job of using bootstrap and JavaScript to provide a clean and functional user interface.
There are simple instructions on the website to get this installed and running. Essentially, download it, extract it and run it.
I wanted it to be run automatically so I moved the app :
1
mv ympd /usr/bin
… and the made it automatically start with :
1
sudo crontab –e
… then added
1
@reboot /usr/bin/ympd –webport 90
to a new line at the end of the file and saved/exited.
With all that set up you should be able to use a browser to navigate to your Raspberry Pi. I gave mine a hostname of musicpi, so I simply browse to http://musicpi.local. From the web interface you can control everything you need to. Of course, there are a ton of other clients available for mpd if you would rather control it directly from your mobile etc.
Aside – Audio Problems
It is probably worth noting that initially (with the 15W audio amp) I had a lot of noise and distortion. The amp I had chosen needed a 12v source, so I had used a 12v power supply and fed the amp as well as a DC-DC (buck) convertor to step the voltage down to 5V for the Raspberry Pi. I believe the buck converter is very noisy (switching) and this was causing the problem. As soon as I switched to the 5v amp the noise vanished. Bonus for only having a single supply voltage too.
Conclusion
Overall, I’m really happy with the Raspberry Pi Outdoor Music Player Project result. A few spare (laying around) parts, combined with a cheap amp and speakers and a few hours of integrating it all together and I have a pretty cool music box. There are a few enhancements in the works for this too:
- Change the case for an old 80s style ‘ghetto blaster’ radio cassette player.
- [Possibly] Better working with playlists (creation, editing)
- Some controls on the case for skipping forward/back or loading a specific playlist.
- LCD display showing the current playlist/song/time remaining etc.
If you build one, or found this useful please comment below and leave a link for me to check out your project.
