Quadcopter V1
So for the past few weeks, on and off, I have been focusing on hardware – building a magnificent flying machine – a quadcopter.
I bought a build it yourself quadcopter kit from ebay, just for quickness – it was around £120 and came with all the required bits to get started:
- 4 x generic 2212 motors with mounts
- 4 x generic 30A Electronic Speed Controllers (ESCs)
- A power distribution board
- 600mm frame (X layout)
- A flight controller module (KK 2.1.5)
- Propellers (2 x CW, 2 x CCW)
The only bits missing were batteries (I bought 2 x 3s LiPo and a charger) and the remote controller (I bought a FlySky TH9x and receiver). A few sundries were also needed – a little buzzer, some cable ties, tape, soldering etc.
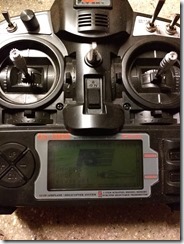
After taking delivery of the various bits, I put the quadcopter kit together in a couple of hours, and I’ve been noodling around for the past couple of weeks with getting the right settings and configuration sorted out on both the Flight Controller (FC) and the Transmitter.
It seems that not many folks have the FC and FlySky combination that I had, but with enough googling around I found that I should have had the Transmitter set to ACRO mode rather than HELI mode. HELI mode only allowed me to get the sticks registering +-60 rather than the +-100 that I needed, also the trims couldn’t get to 0
The final setup for the transmitter was:
- Mode Type = ACRO
- Throttle = Reversed
- Elevation = Reversed
Then I headed to the ‘Receiver Tests’ menu in the FC and using the stick trims to make sure all settings were trimmed to 0, and when I moved the sticks the correct values were displayed on the FC.
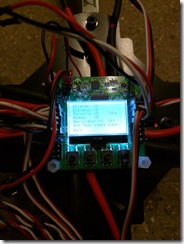
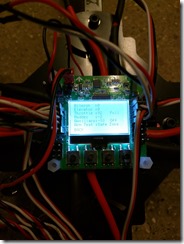
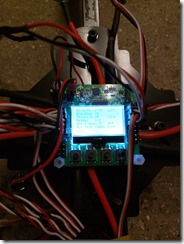
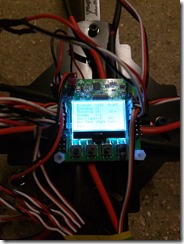
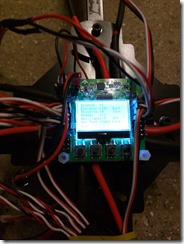
Make sure you have programmed your ESCs – you can do all 4 at once by removing power from the ESC, making sure your throttle is at maximum and all ESCs are plugged into the right connector then while holding down buttons 1 and 4 reapply the power. You should see the display saying ‘Throttle passthrough’, wait for the beeps and move the throttle to minimum then let go of the buttons, you should hear more beeps and your ESCs should be calibrated.
The litmus test for me is arming the unit, giving it a little throttle so the props spin and then holding it in my hand. Dip each of the motors and make sure it speeds up and the quad tries to level itself, then hold it level it again and make sure the motor slows again. I find this test, as well as giving it a bit more throttle and making sure it tries to lift as a great indicator that everything is set up correctly.
When that’s all working correctly, you know your quadcopter is ready for flight.
Outside, open space, little or no wind, time for the first flight – give it throttle, have the quadcopter lift then reduce throttle and let it land. Now the basics are out the way time to test out the maneuverability and do the PID tuning etc to get smoother flying.
Next up is attaching a camera – maybe a Raspberry Pi with a USB camera, or an unused smartphone.