This article is about how to configure Wi-Fi on your Raspberry Pi without using the desktop GUI
It only takes a minute or so and is basically just entering your Wi-Fi settings into the configuration file.
Let’s get started…
We’ll need our Pi up and running and you’ll want to make sure we have all the latest updates, so open a terminal (or SSH connection to it) and make sure you’ve run the following commands:
sudo apt-get update
sudo apt-get upgrade
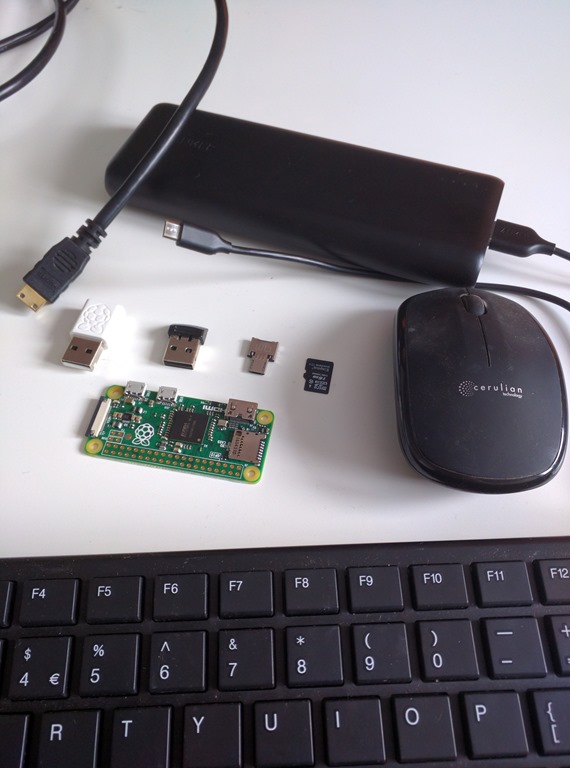
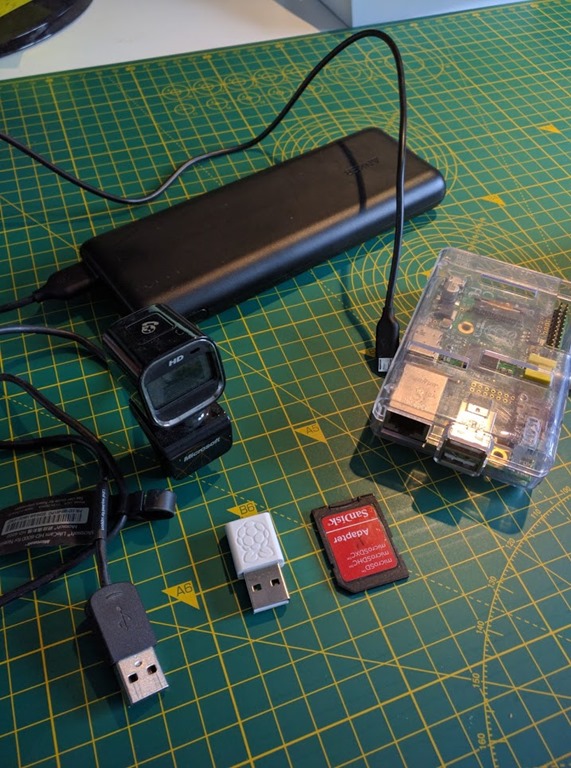
Now plug in the USB Wi-Fi plug. To check that it has been recognised you use the command:
lsusb
You should see your Wi-Fi adapter listed. An easy way to check is to run the lsusb command with the adapter unplugged and again with it plugged in (you should see an extra device listed).
Next we want to configure the device so that it connects to our Wi-Fi network. To do that we’ll need to edit the /etc/wpa_supplicant/wpa_supplicant.conf file, so type:
sudo nano /etc/wpa_supplicant/wpa_supplicant.conf
You’ll see there are only 2 lines in the file (assuming you haven’t already entered any Wi-Fi configuration. So now we add our Wi-Fi details – namely the SSID (network name) and the PSK (password). The format is to add those details as follows:
network={
SSID=“myssid”
PSK=”mypassword”
}
Obviously replace myssid and mypassword with your actual values. Below is one I create with sample values.

Now close and save the file (CNTL+X, Y, ENTER), and reboot and your Pi should connect to Wi-Fi.
Hope this has been useful. Leave a comment below and let me know…