One of the things I’d been planning on since buying the Raspberry Pi is putting together some sort of robot (for the kids benefit you understand…)
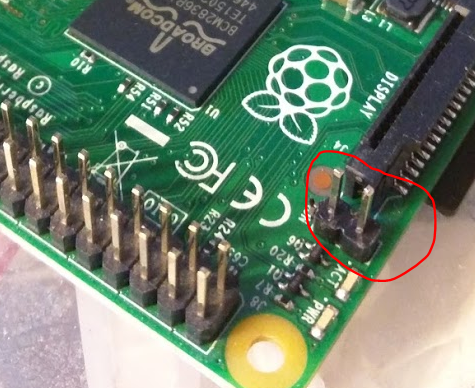
Whilst the Pi does have a bunch of GPIO pins that can be used to interface to motor boards and sensors, the fact it runs on 3.3V and is so sensitive to incorrect voltages has made me reluctant to interface directly from the Pi to other hardware.
Also the Linux OS isn’t great for some of the time sensitive stuff needed for robotics. I could have run a real time OS on it instead of Linux, but instead I thought I’d have it do the ‘intelligence’ and delegate the simple the motor and sensor control to an Arduino.
So I bought an Arduino Nano (V3.0) – this is a great little device, mini USB input to power and communicate with it, 20 odd IO pins and the like, and the IDE and development software that comes with it make it real simple to get started.
Add to that, the fact you can pick them up for around £10 and it’s a no brainer…
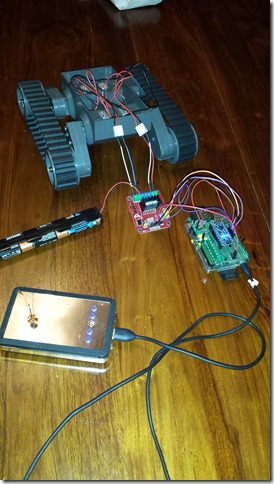
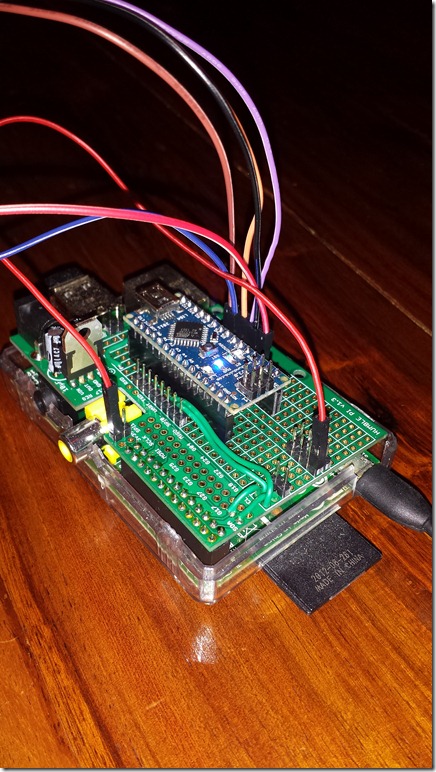
Anyway, I had a play around with both and got them talking to one another over I2C and all was good. At first I had jumper wires all over the place, but I had a spare ‘Humble Pi’ prototyping board so I used that to hardwire a Arduino slave connected to the Pi master, so now I have the best of both worlds…
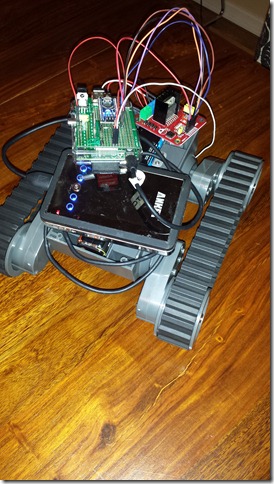
I also took delivery of a Dagu Rover 5 tracked robotics base, connecting that up to a H Bridge motor controller and driving the H Bridge from the Arduino (based on commands send from the Pi over I2C) all worked without a hitch.
The ‘sketch’ I wrote for the Arduino is pretty simple, it sets the Arduino up as a slave on a particular address and when sent commands reacts to the (‘f’ for forward, ‘b’ for backwards, etc.)
On the Pi side it is a simple bit of C code that waits for user input and sends it over the I2C channel (making use of Gordons wiringPi library).
The outcome, this evening, was a robot that can now move in response to user commands from the Pi SSH session.
I’ll go into more detail about the wiring interconnect and the code for the Pi and Arduino in a future article, but for now here are some images:
Here is a view of the Arduino daughterboard thing I hacked together…
I purchased a couple of Ultrasonic sensors from eBay (around £2.50 each), so future plans include some kind of distance measurement, obstacle avoidance and more autonomy for the bot, rather than ‘remote control’ via a SSH session.
Watch this space for more details…


Nice project! I am also currently in process of building Pi-based version of our BeagleBoard-based robot. Maybe some ideas could be useful for your project too: http://veterobot.org .